Thursday, February 28, 2013

Baked ham roll ups

                                                             Ham Roll Ups

You will need dough (I used seamless its my favorite) ham, and cheese of your choice

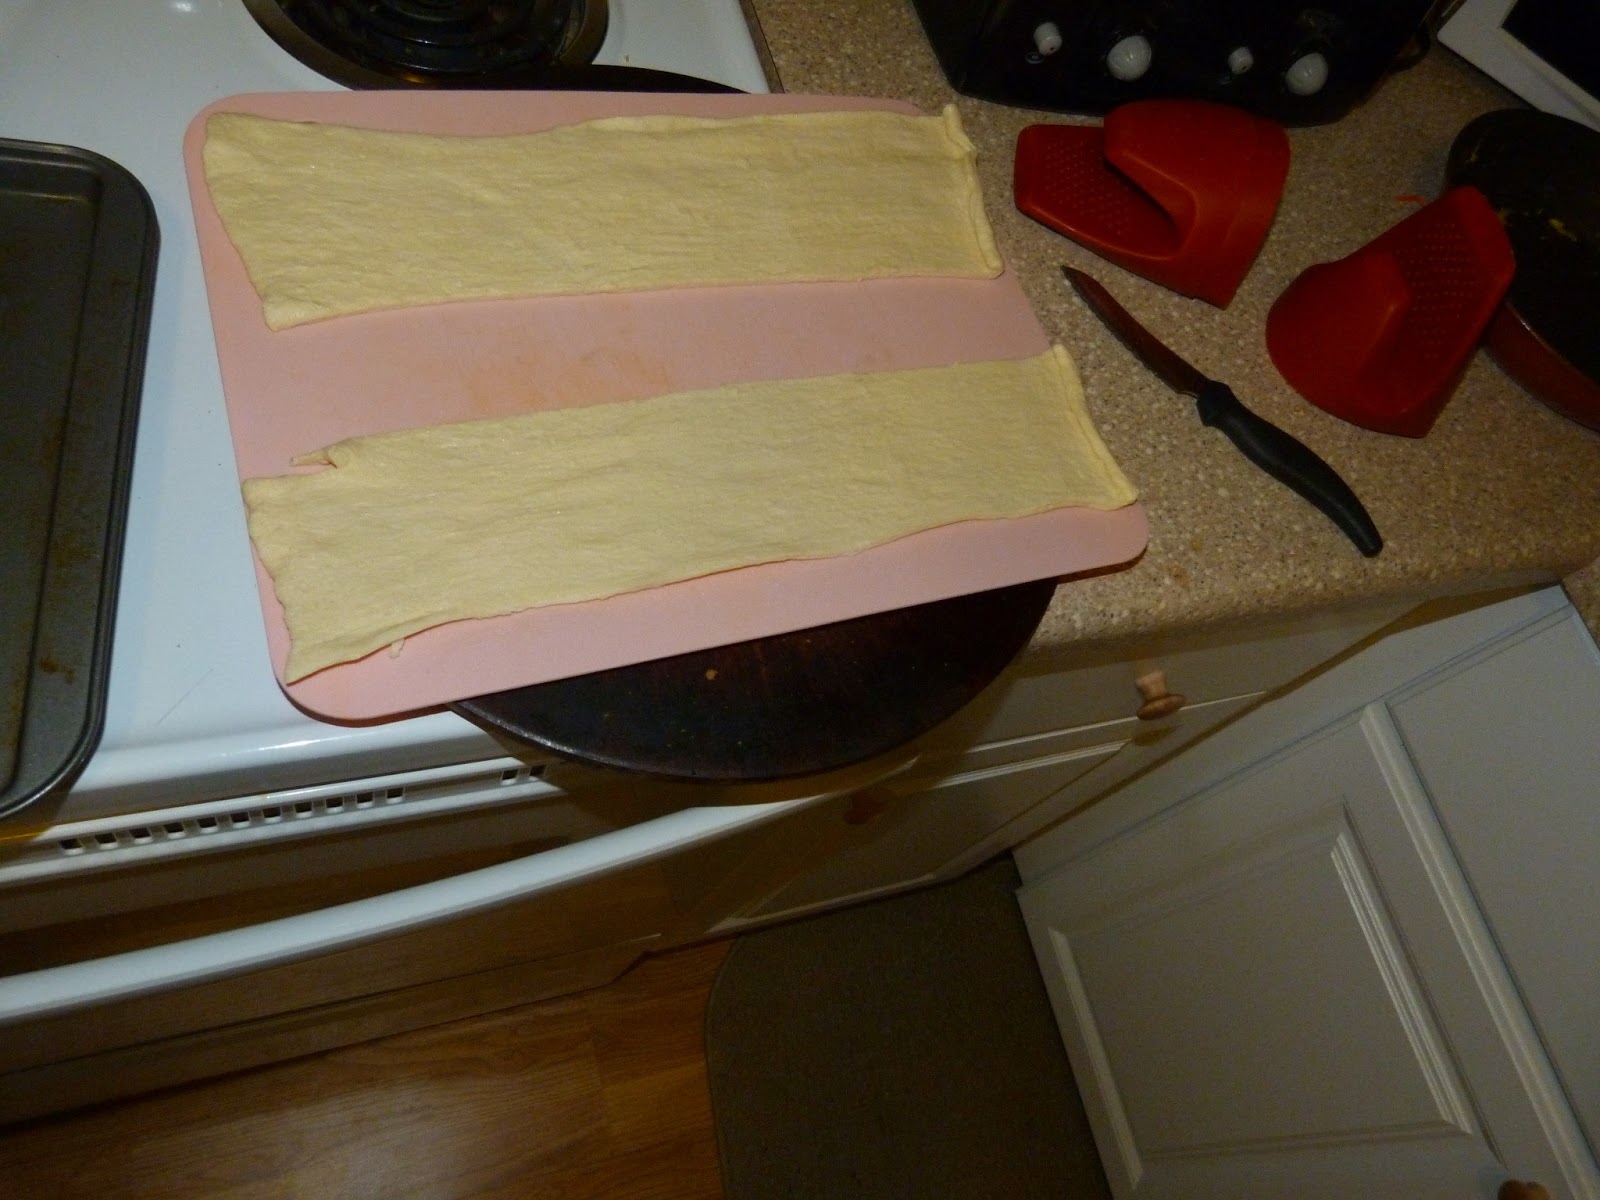
cut your dough down the middle to make two large strips (you will be making two large rolls)

Spread ham out then cheese

roll them up and place them on your baking sheet

I added a little butter to the top just to experiment... turned out pretty good

when they are done just cut them up into small bite size pieces and there you have ham roll ups...

great fast dinner or party food! 


Saturday, February 23, 2013

Homemade Hand Scrub

Amazing Hand Scrub!

You will need sugar and Dawn hand renewal dish soap and of course some sort of container to put it in, I used ball jars

Fill 3/4 the way with sugar

Fill the rest leaving a little room at the top with the dawn soap and Stir until blended... you may need to add a little more sugar if its too watery or you may need to add more soap if its too thick... 

Add a decorative bow and there you have a great little gift and this stuff is just like the expensive stuff! Bath and body works has a version with way less for about $12 or so and this is the same stuff... the only difference I noticed was their coloring was more of a hot pink than a light pink.... 

I hope you try this and enjoy it! I even talked the husband into testing it out for me! He loved it... but I'm sure he'd never admit it! 

Thursday, February 21, 2013

Grilled Cheese Rolls....

Rolled Grilled Cheese...

You'll need Bread, Cheese and butter

Put cheese on bread..


Roll it up... You'll want to roll it tighter than this and flatten it a little bit...
Lots of trial and error and butter on my fingers to get this to work... 

Coat outside in some butter and cook as if you were making a regular sandwich 


There you have it, a grilled cheese stick... Kids would like these but its so much easier to just make a regular sandwich! 

Enjoy with a nice bowl of soup... I bet these would be easy to dunk into tomato soup! :)

Monday, February 18, 2013

Lip Gloss

Lip Gloss..... 


I used vasaline, cherry kool-aid and tiny containers I found at the dollar tree

First I scoop out vasaline into a bowl for the microwave

Melt the vasaline it takes about 8min. for it to all become liquid...

Add in kool-aid and mix....

and there you have it... home made lip gloss....
Its just so-so... I just love my Blistex....

Sunday, February 17, 2013

Sprite Pops....


SPRITE POPS.... With gummy bears of course!
You will need sprite... a can will do just fine as well.... some gummy bears if you'd like and some Popsicle containers

I put the gummy bears in first

then filled it up with sprite

Freeze

and there you have it... My creepy looking husband behind the pops :) 

we were not fans of the gummy bears in there... they were really frozen and too hard to chew... but kids would probably like them!


Happy blogging everyone!

Saturday, February 16, 2013

Pssh, I'm a mom now

Corner Desk..... 

So here are all the parts... and it says you will need 2 people....


A little overwhelming at first but me being a stay at home mom now I thought I'd better at least try to get as much done as I could before my husband gets home from work so that he doesn't have to "work" when he is home too.... 


and guess what I got it done by myself in just 3 hours..... part of that 3 hours I had to soothe, feed and change a crying infant... but look I'm a mom now! I can do a two person job plus take care of a baby! 


So excited to have this little corner desk for my lap top and to do bills on so that the kitchen isn't cluttered with my things all the time and so I don't have to drag baskets of things for bill paying and coupon sorting... 

have a wonderful day!

Friday, February 15, 2013

Rainbow Cake

My Valentine Rainbow cake


I used two round cake pans.... you can use whatever... and Some classic white cake mix and what ever colors you'd like 


Follow cake mix instructions... Its best to use just egg whites... I had a coupon for Free egg beaters Egg whites so that was nice:) you can do the old fashion separate the eggs but I must say the egg whites in the carton are so easy!!
Then Divide out the white cake mix into how ever many colors you need.... I wanted 4 colors so I did four bowls... and then add the colors.....


Pour mix into pan in layers... TIP, use a lot of color for a bright cake.... and when you want green use extra coloring other wise it will look like ....
this.. Yellow when its baked! haha.... Just follow the instructions on the cake box for baking....

To ice a pretty rainbow cake you need bright colors... so I used this white creations frosting cause its so easy to work with!!!

I divided the frosting into two bowls and colored one purple and one pink.... and started to decorate the cake.... the first layer is purple...

The top half is pink.....& I know i'm not the best at frosting lol 

Some Valentine sprinkles.... 

here is the inside... this picture for some reason doesn't do the cake justice... the frosting is so much brighter in person... I took this picture with a different camera since my battery died..... the pictures above with the frosting and sprinkles is really the color of the frosting... the inside of the cake however is a more dull color since I didn't use as much coloring....


I hope you had a wonderful valentines day and I hope you try this cake... It would be so much fun to make with kids.... HINT To my bff... Here is something you and the girls can do when you're bored :)

Tuesday, February 12, 2013

Happy Valentines day!

OUR VALENTINE

She can hold on to things now.... Like my heart :) 

Look at this, holding her head up so well just barely 2 months old!

The most beautiful baby girl on the planet!

Look at her! She will be crawling before we know it!!

Yes she already says "mom, you're so lame" haha! I just have way too much fun being a stay at home mom!

Her smile is the reason I love waking up every day!!


Now if this didn't brighten up your day I'm not sure anything will!!! Hope everyone has a wonderful Valentines day!

Thursday, February 7, 2013

yogurt bites

 Yummy Frozen Yogurt Bites....

First pick some flavors that you love!! I picked vanilla and strawberry to test out... later tried Boston cream pie which is my all time favorite!


Then pour one flavor at a time or if you prefer to mix them both, into a ziplock back or something of that nature and cut the corner as if you were to be frosting something
then line a baking sheet with wax paper or something similar and start squeezing "dots" of yogurt onto the paper

this process may seem tedious however in the end its worth it


*I was rushing to get this done before the baby woke up* when done simply put in the freezer I think mine took a good 2 hours to get frozen but check them periodically....

Then to remove quickly a spatula came in handy... and I then put them into a plastic container and put them back in the freezer!

Me being mildly lactose intolerant I can not sit down and enjoy a cup of yogurt however I can stop by the freezer and grab a few bites of yogurt through out the day and not regret my decision... so for those of you who say "I can't have dairy" just try this  unless you are really allergic to milk... Me it just upsets my stomach and makes me regret my dairy decisions until now that is!!! 


ENJOY